Sometimes it’s good to make things just for yourself. In this case, I wanted to design a Shang-Chi figure in the style of Kaiyodo’s Amazing Yamaguchi line. This is directly inspired by his costume designed by Jim Cheung, from the story by Gene Yang and Dike Ruan.

Shang Chi by Dike Ruan
In the story, Shang-Chi’s father left a legacy in the form of the Five Weapons Society, with Shang and each of his siblings being made to master one of each discipline- hand, dagger, sabre, staff, and hammer. For this figure version, I imagined a Shang as a vessel for all the siblings together, symbolically carrying out their will by literally carrying their weapons.

Early sketches for “unified” Shang

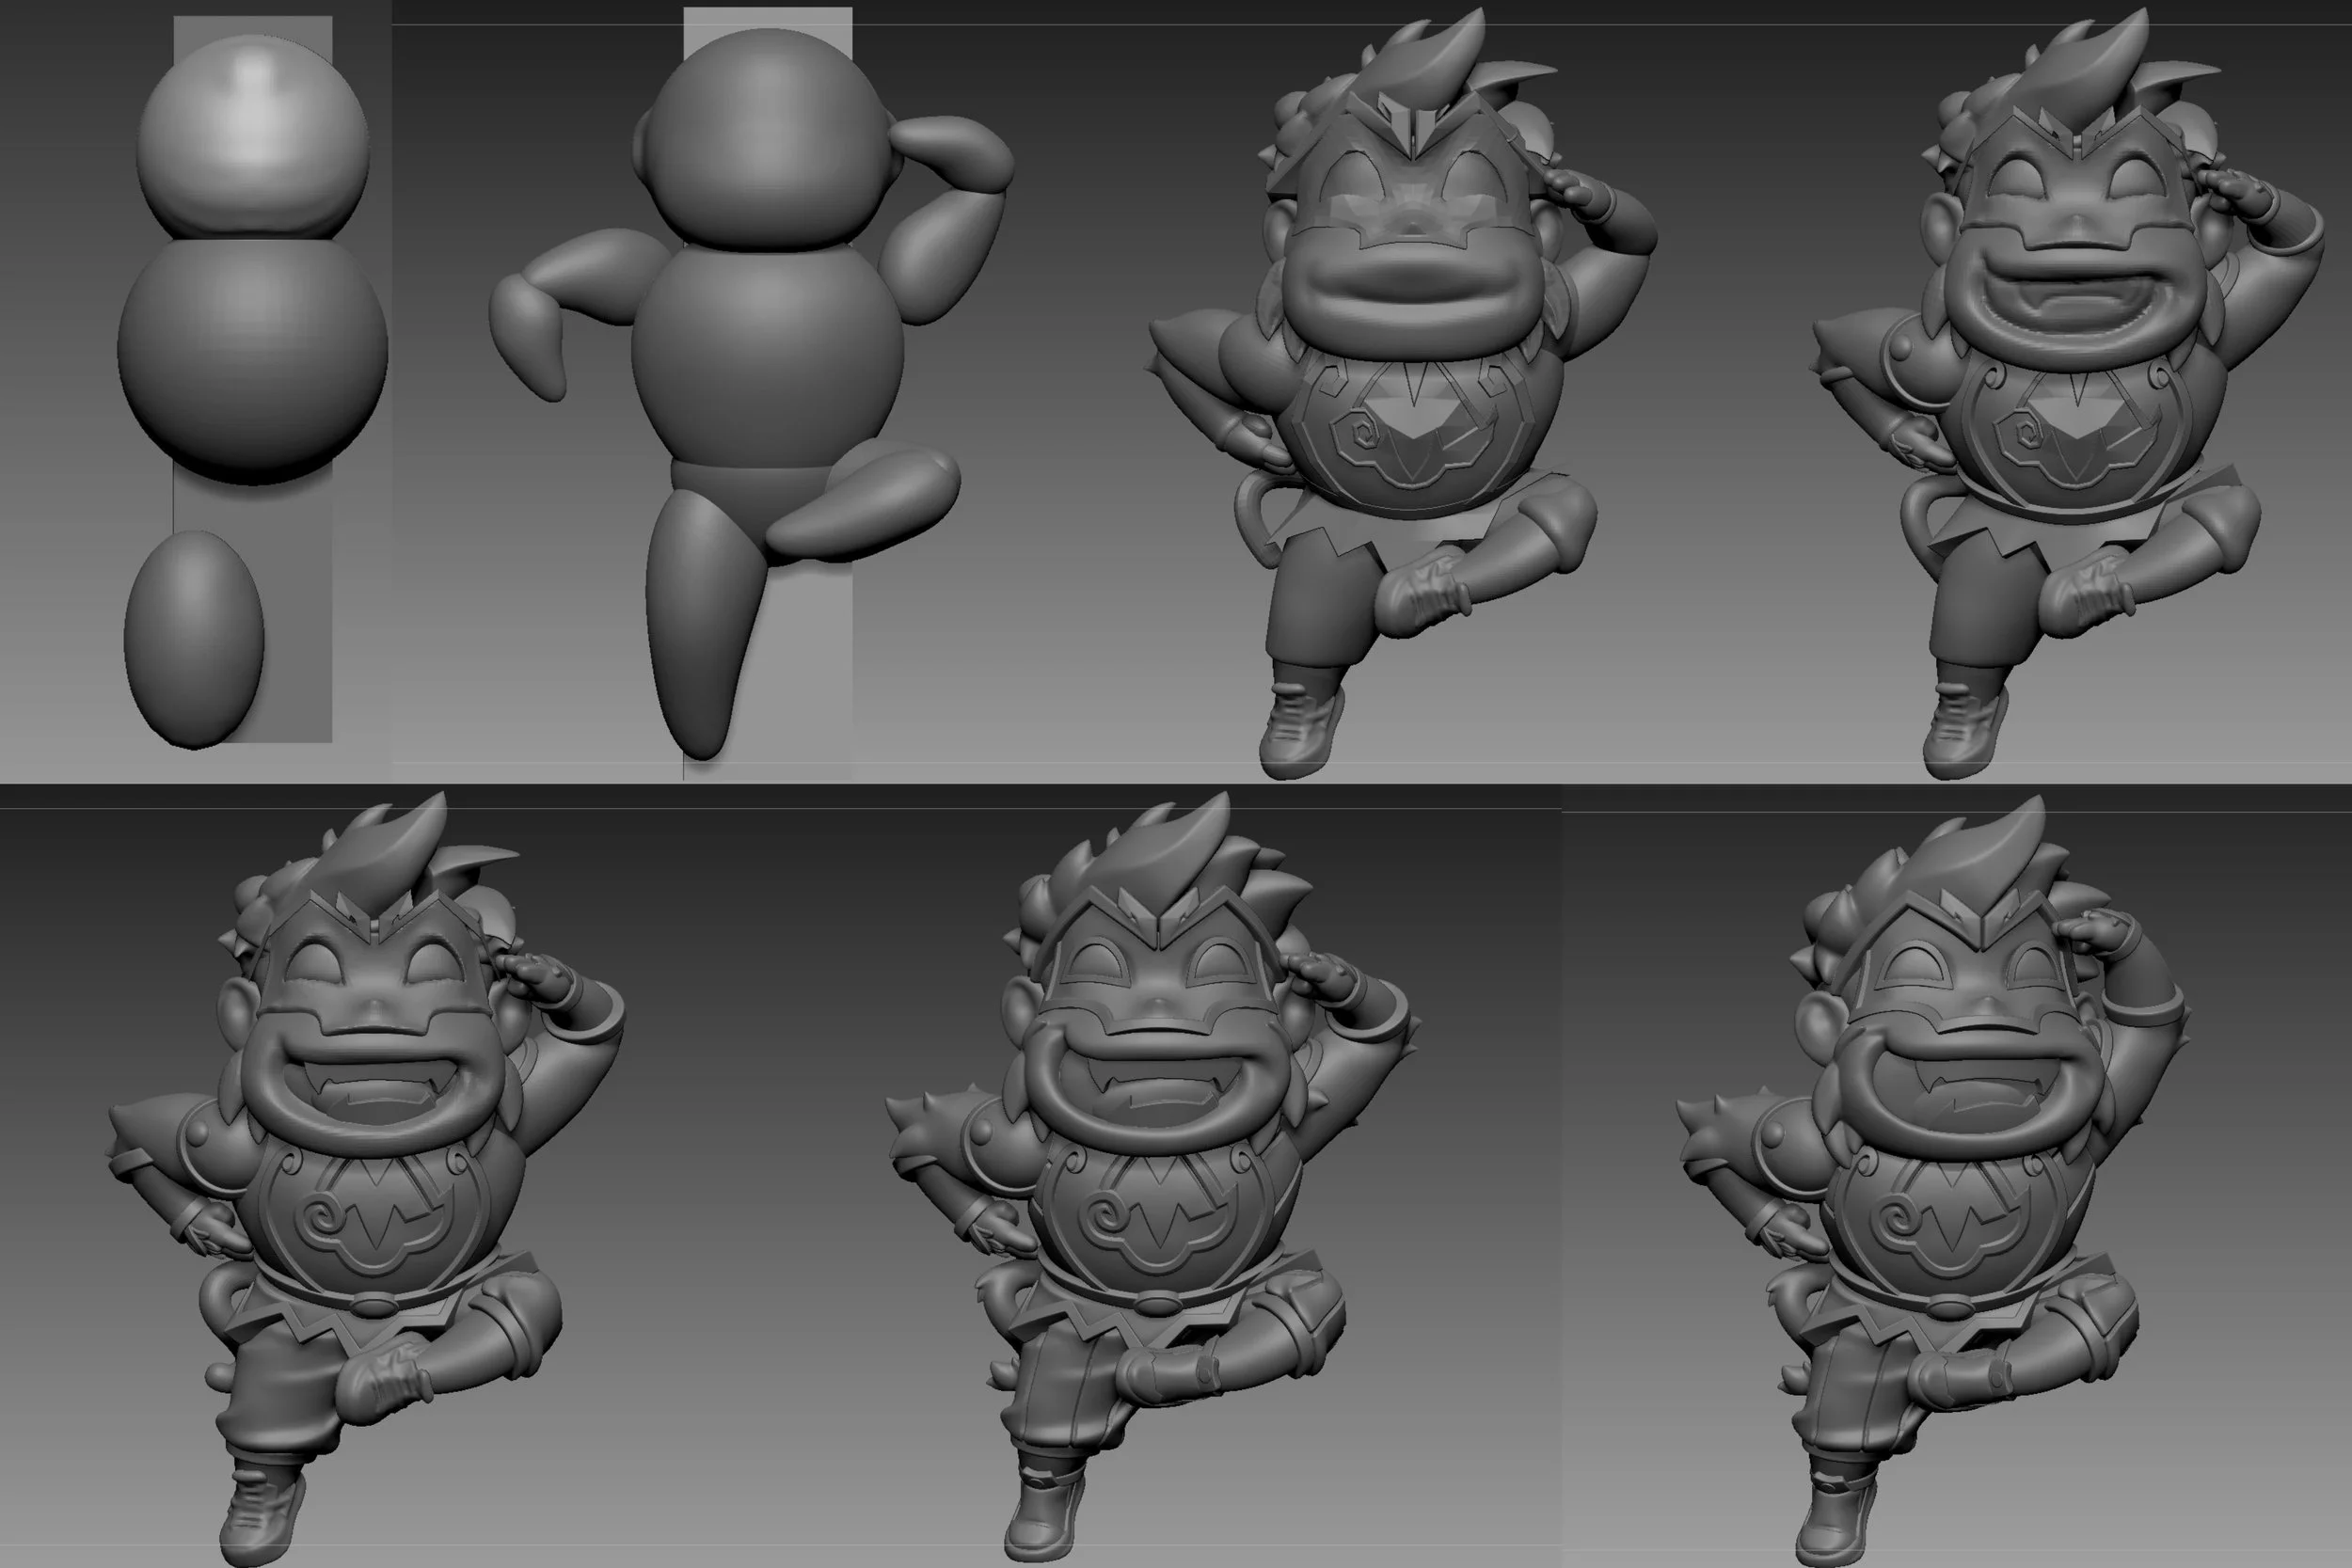
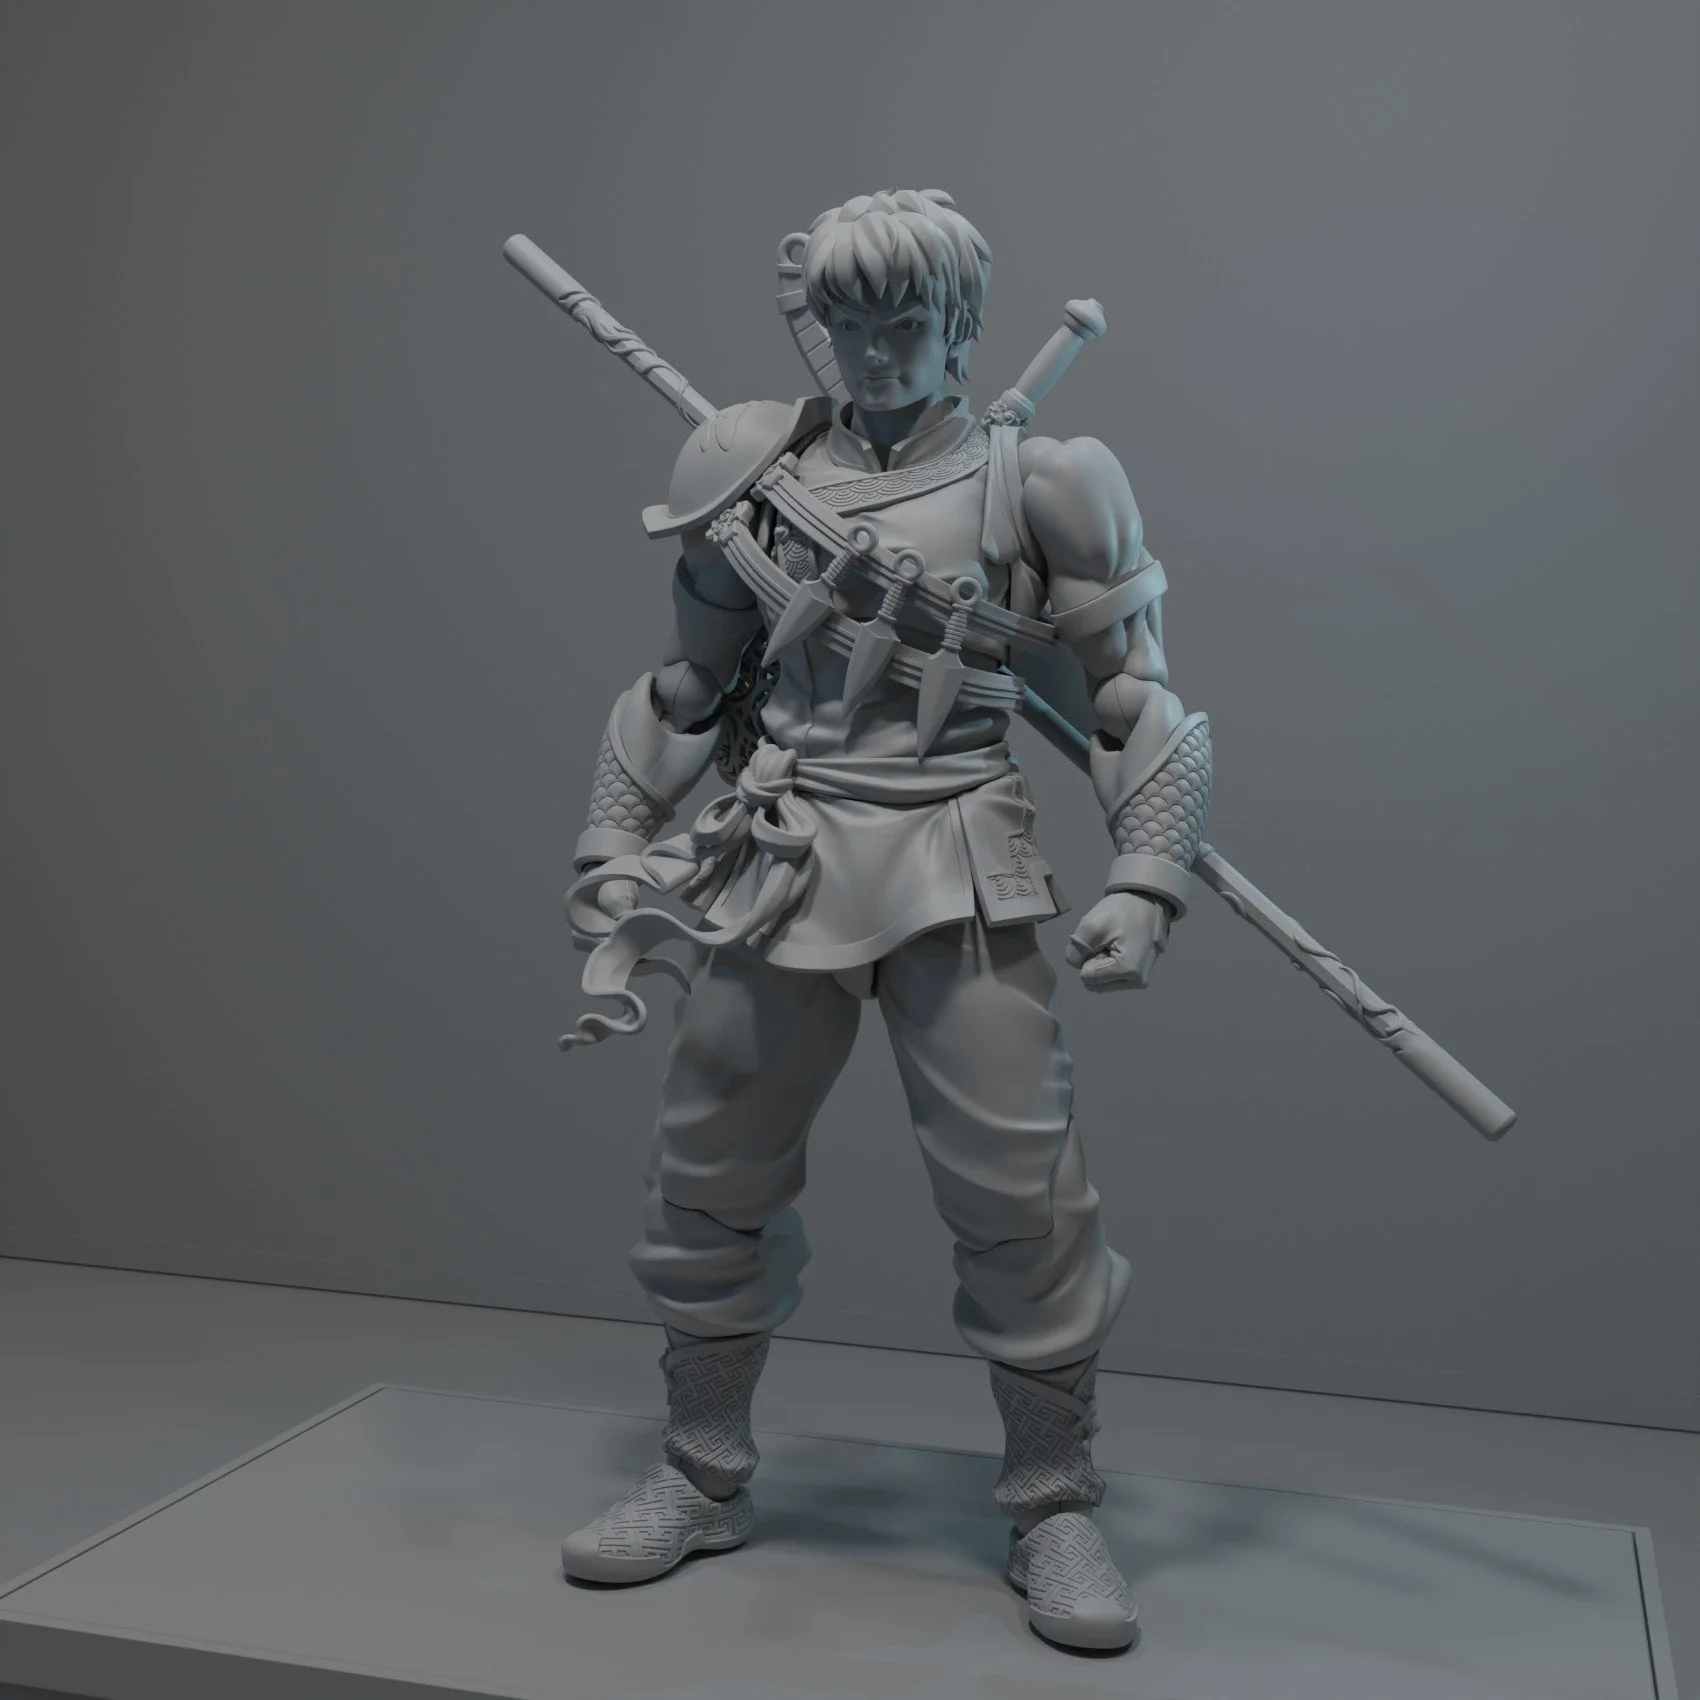
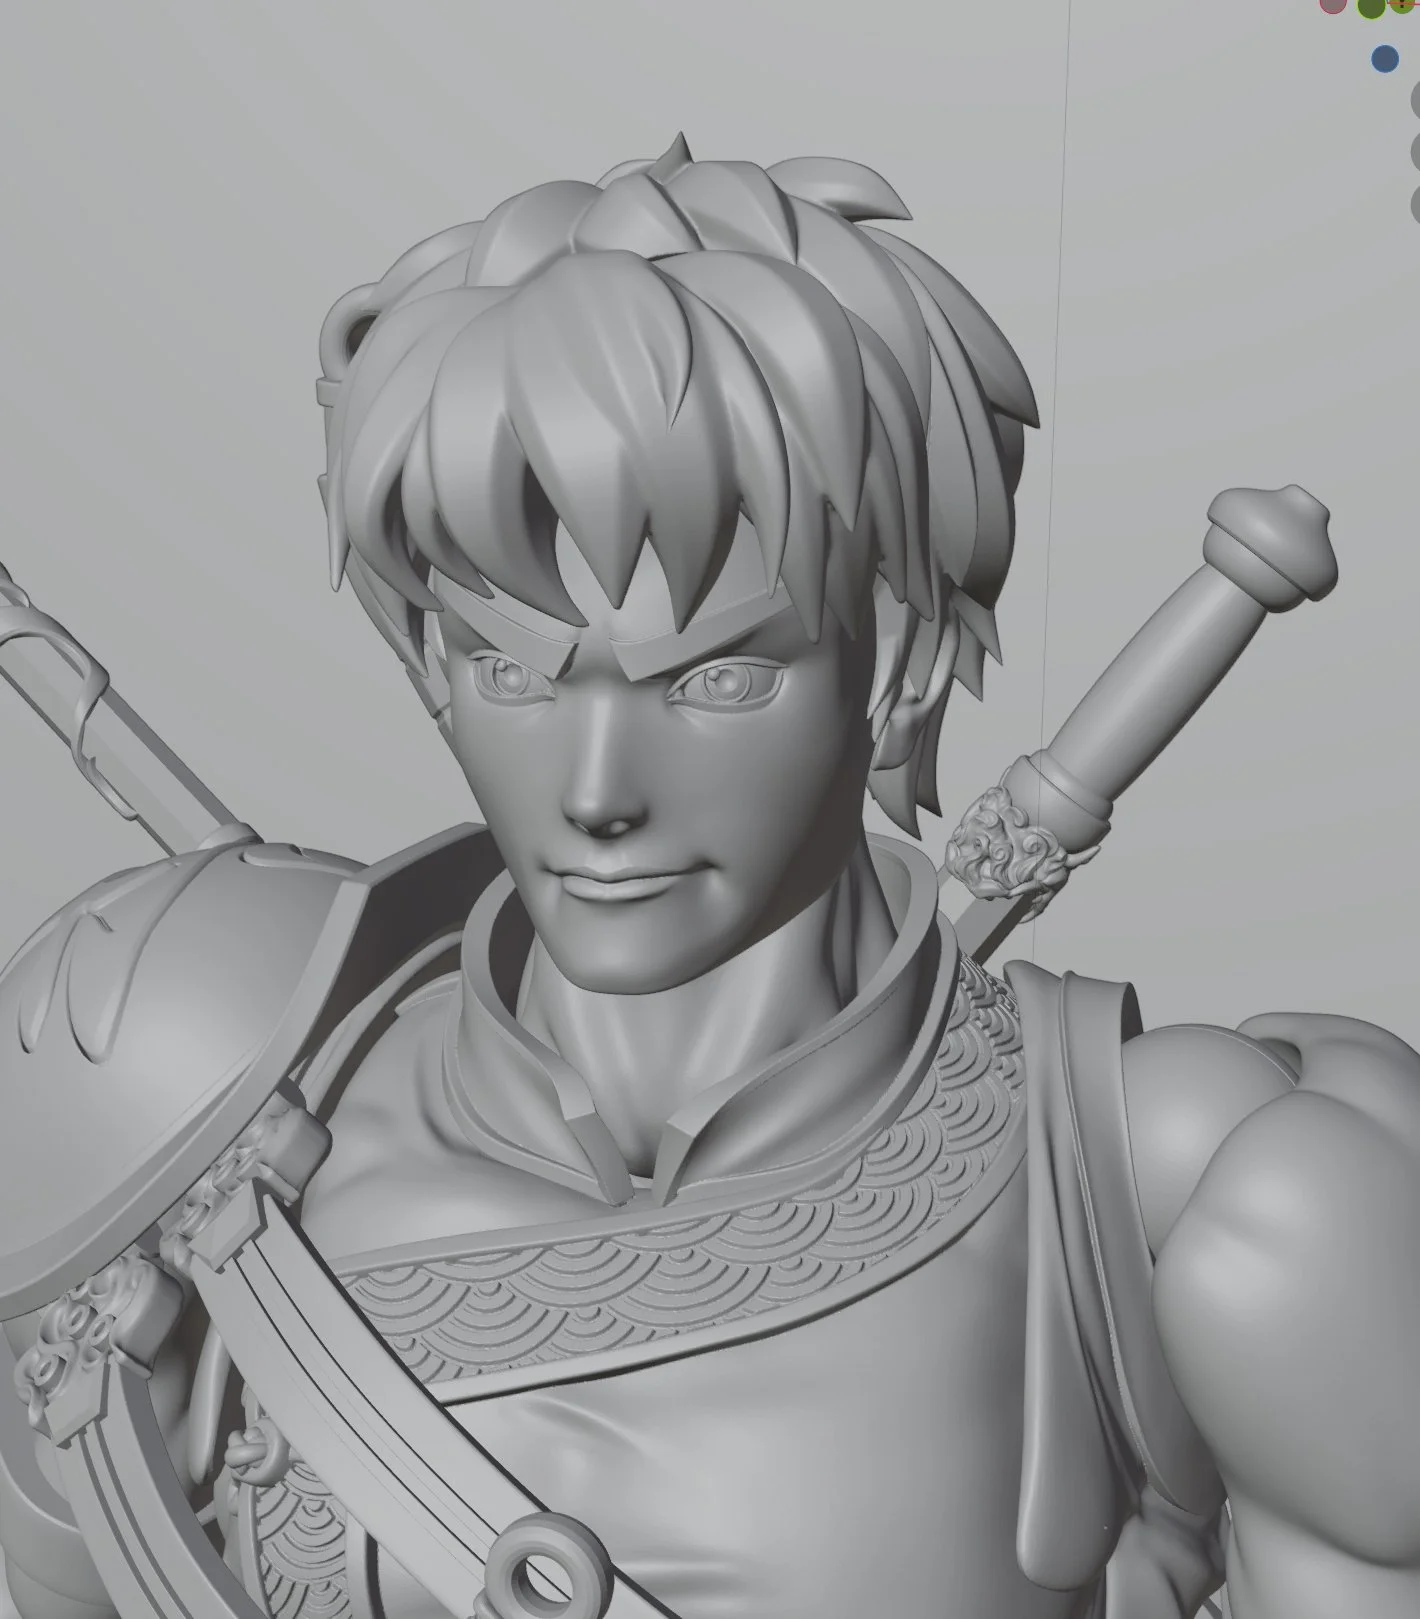
Early, middle, and late Zbrush sculpt progress

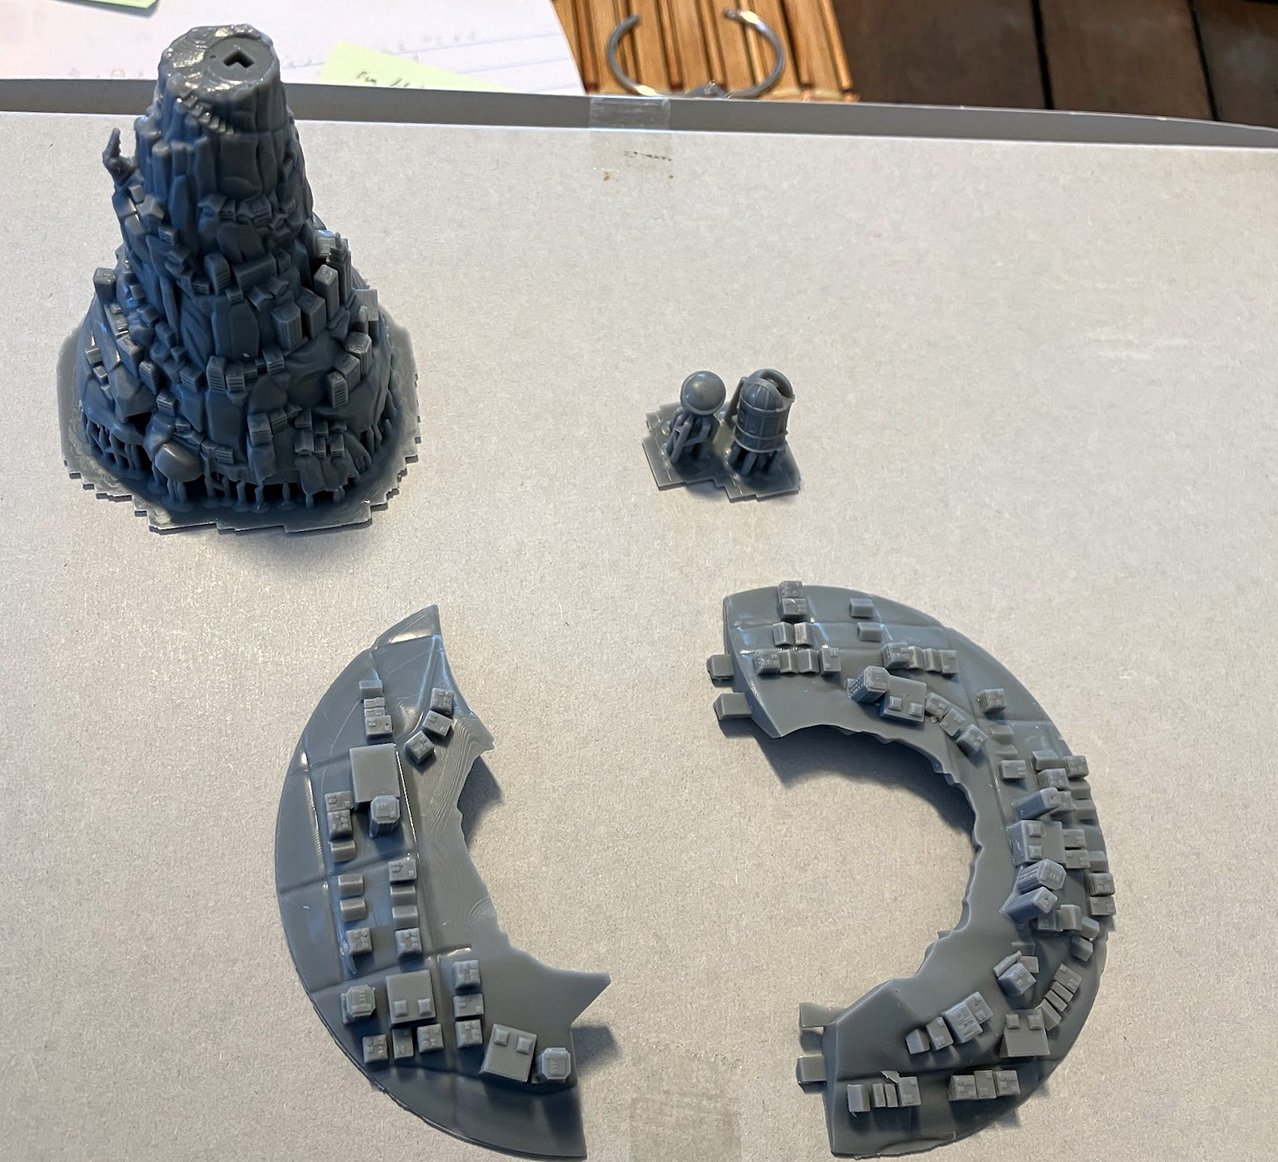
After this, it was onto printing. The whole thing was at a finished level when I prepped it and printed it, but the proportions were off in a couple areas, so I went back into the sculpt to adjust them. So the parts below are actually the second version.
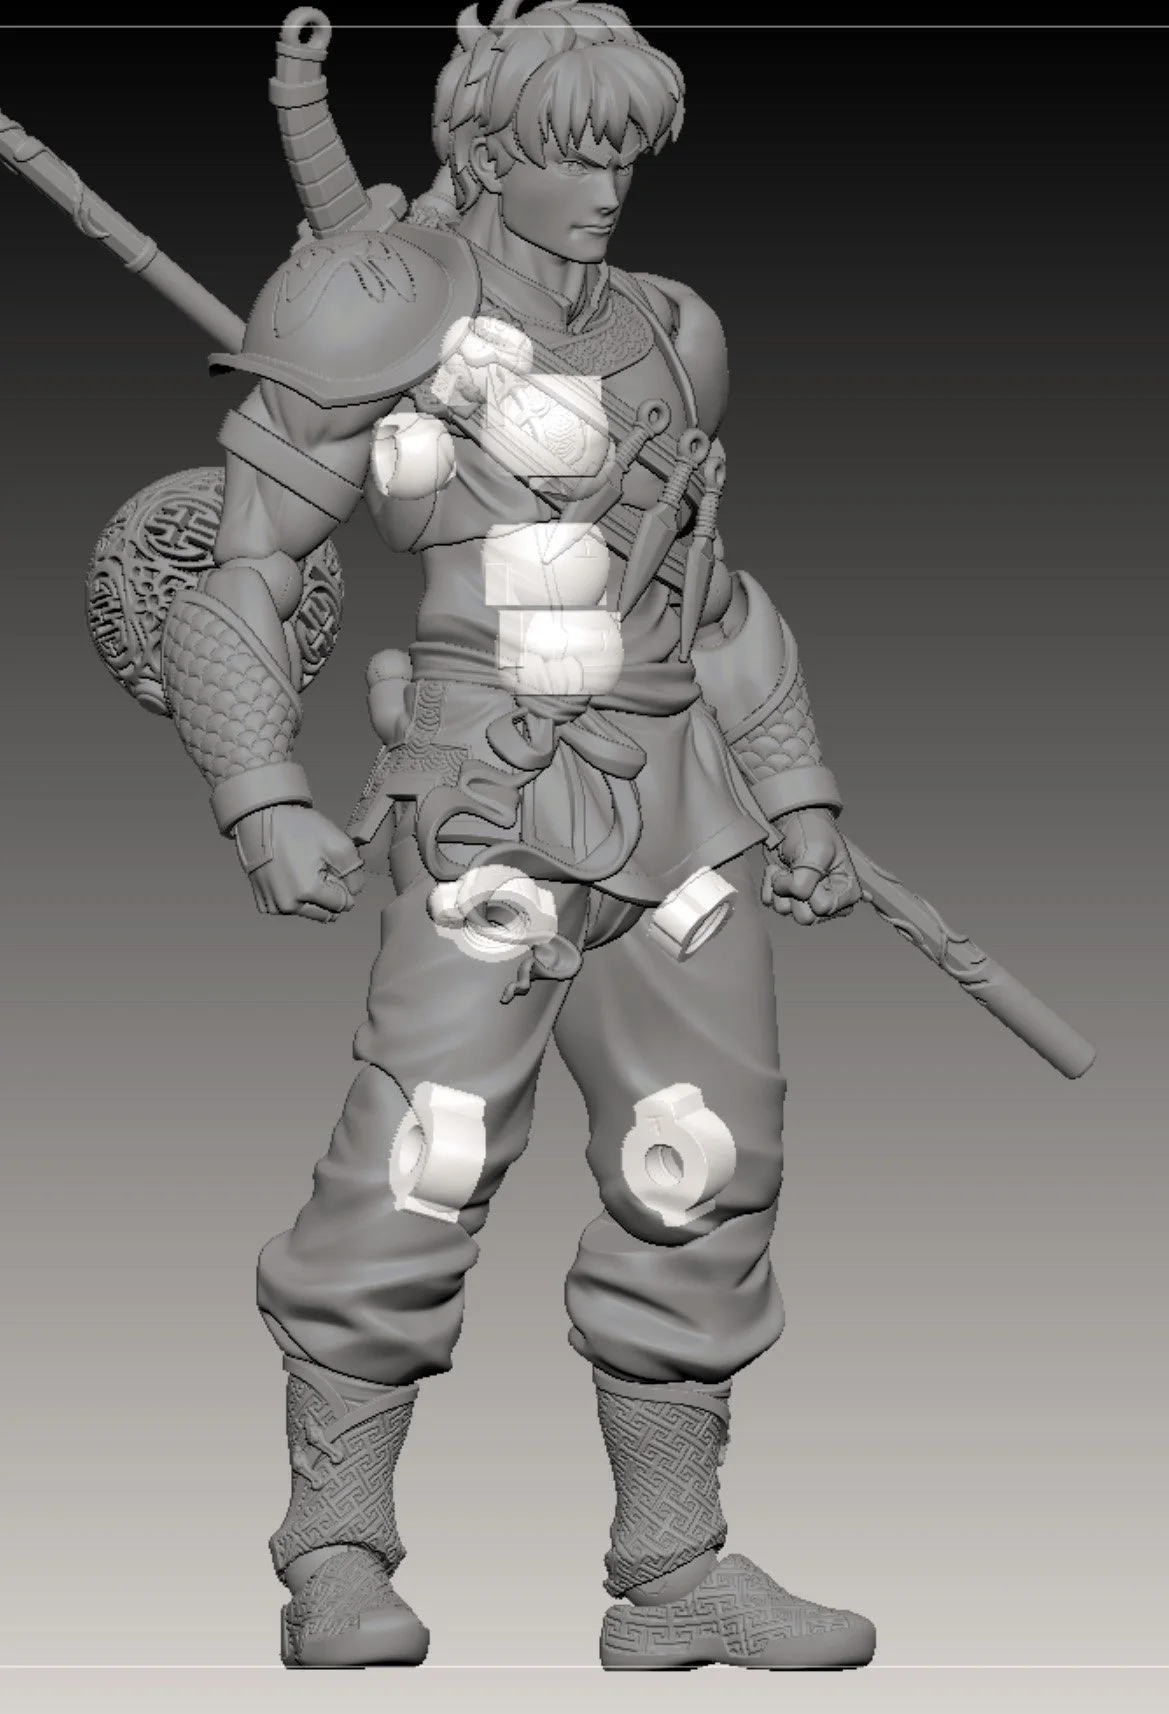
One change here compared to previous figures I made: for most of the joints, I designed standalone parts holders that would flex more than the main material.
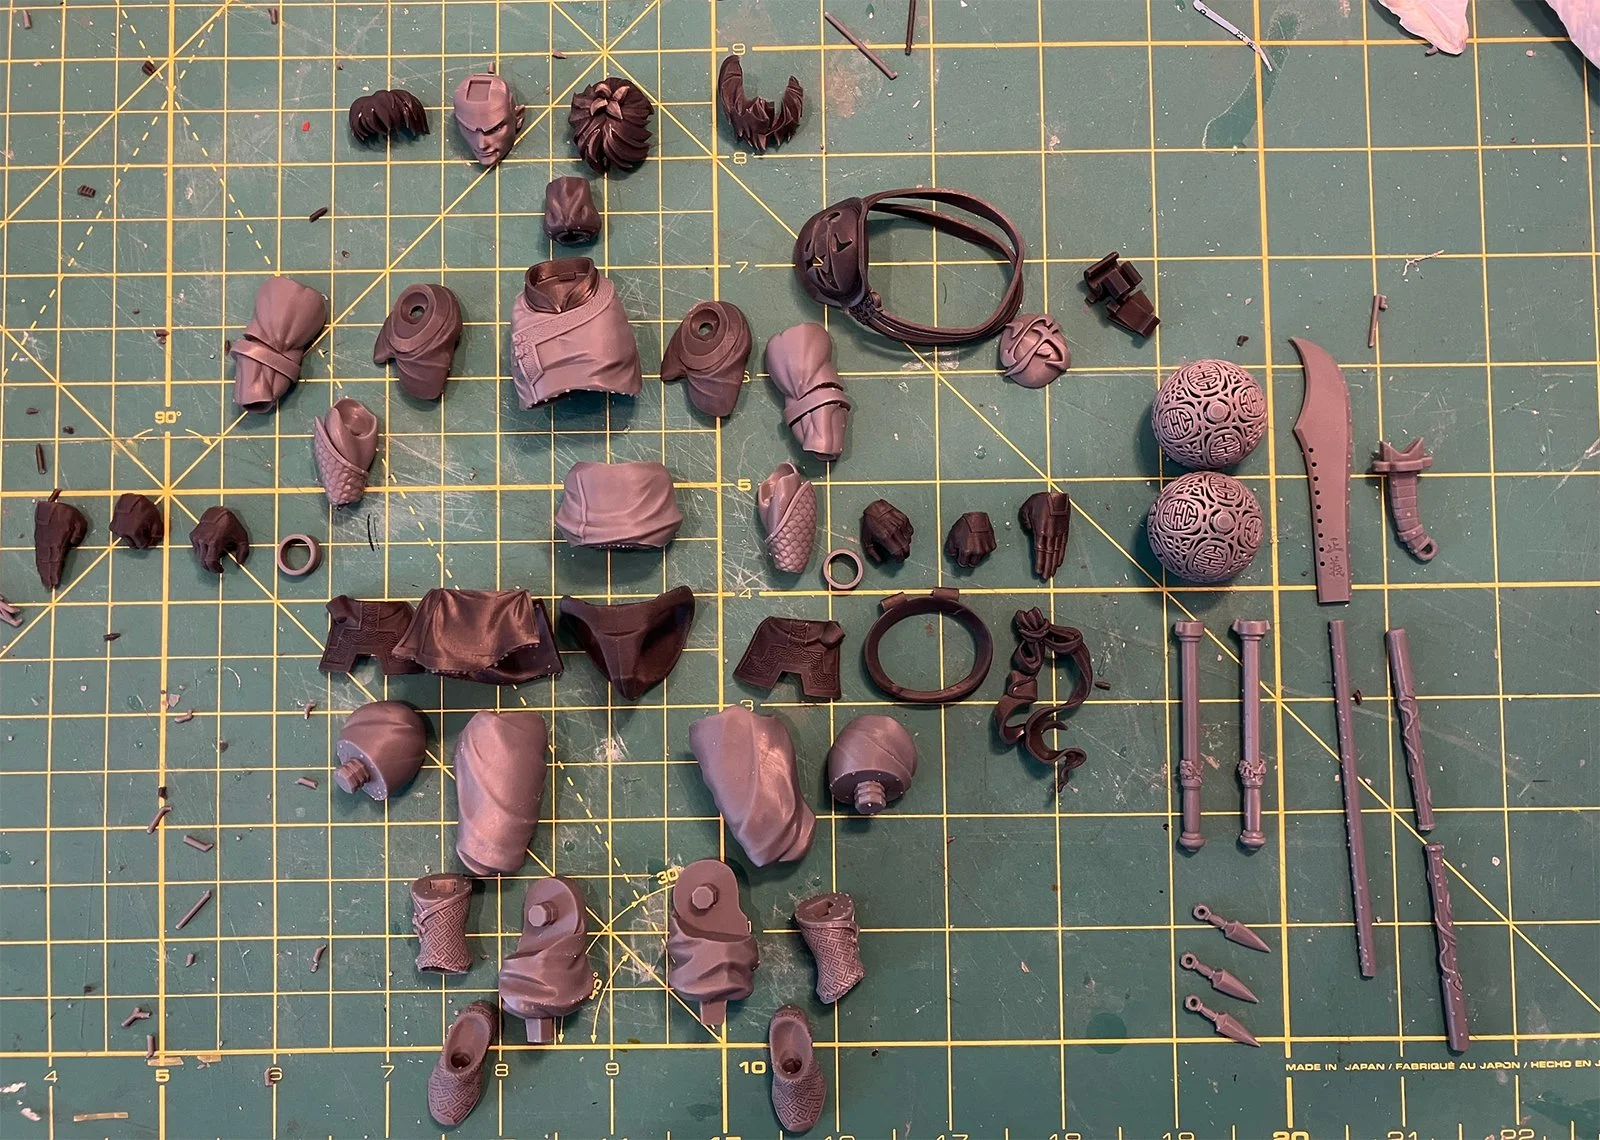
Here are the final printed parts, minus the joints which were off to the side. Light gray holds the most detail, the dark gray has the most flexibility, and the medium gray (neck, shoulder girdle) has some properties of both.


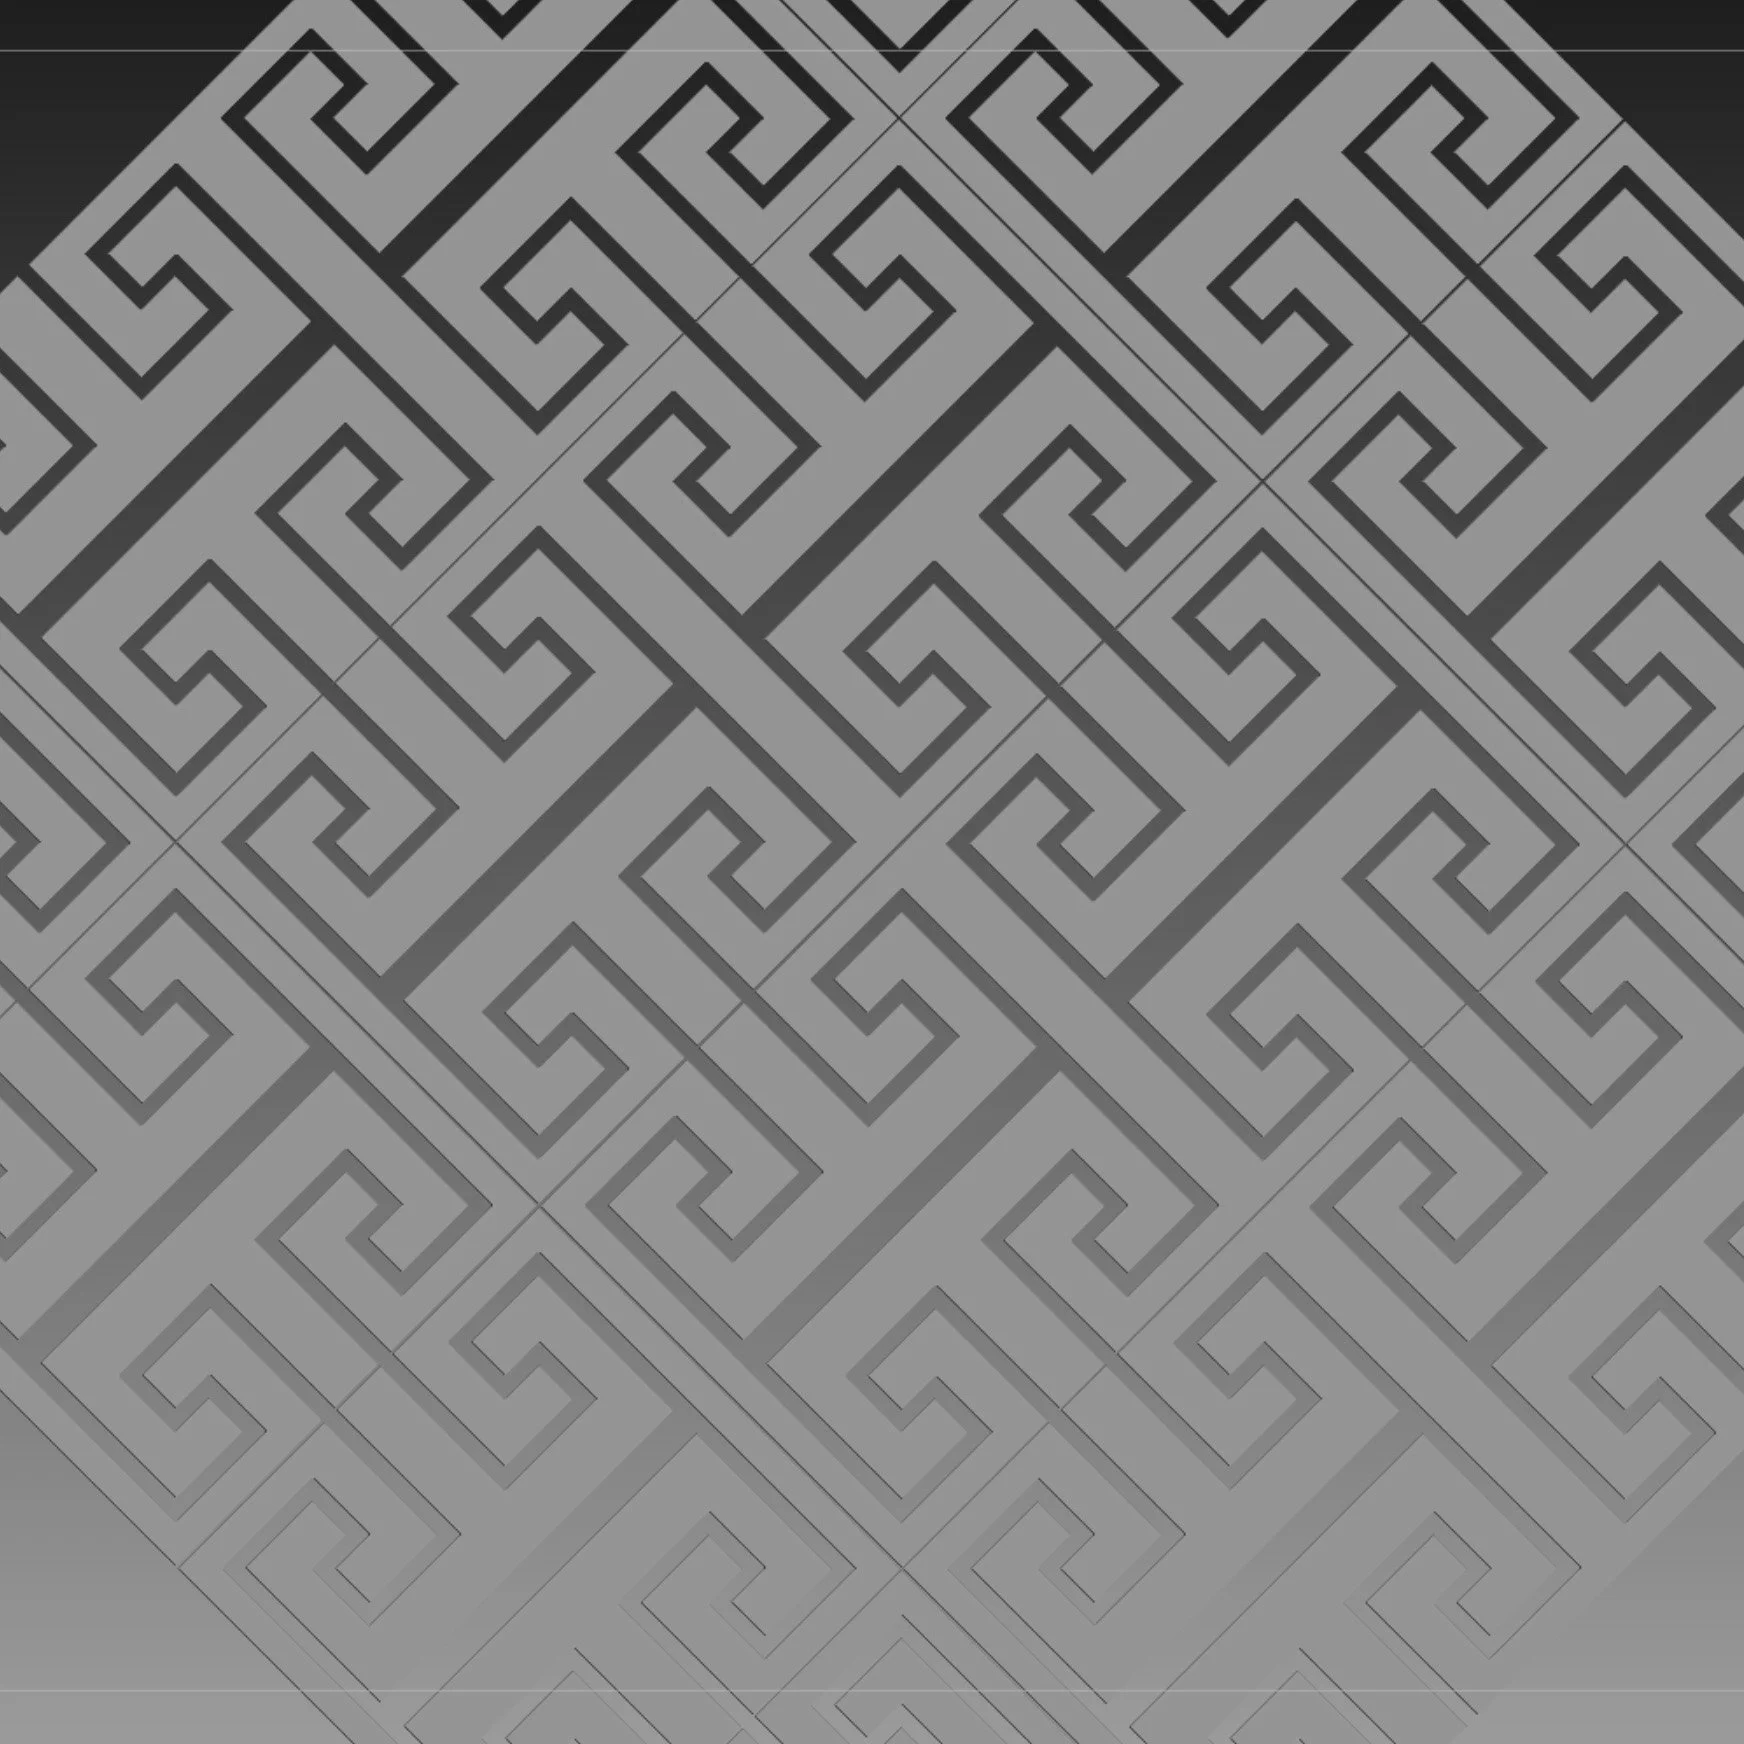


I also want to show specifically the shoe process, because I like how it turned out. 1-3: forming the pattern with a simple grid. 4: rotating and duplicating pattern. 5: applying pattern to shoe parts as a UV. 6: the printed pieces.
Masking is the most tedious part of the process to me. So wherever possible, I’m trying to design the parts in a way where I can print them (and then paint them) separately.

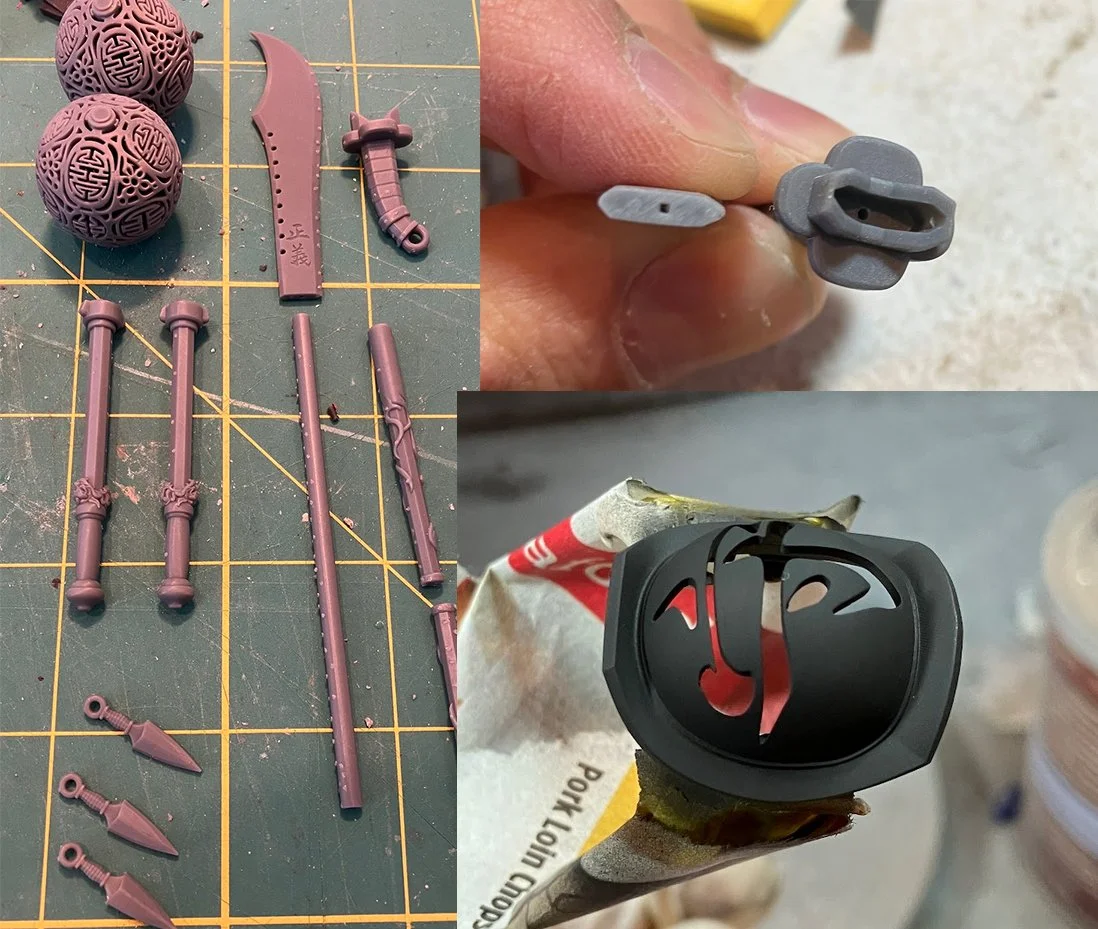
Primed version, after a few rounds of cleanup.

So far though I haven’t been able to fully plan the parts separation in a way where I don’t have to mask… so I still had to do these, which took a long time!

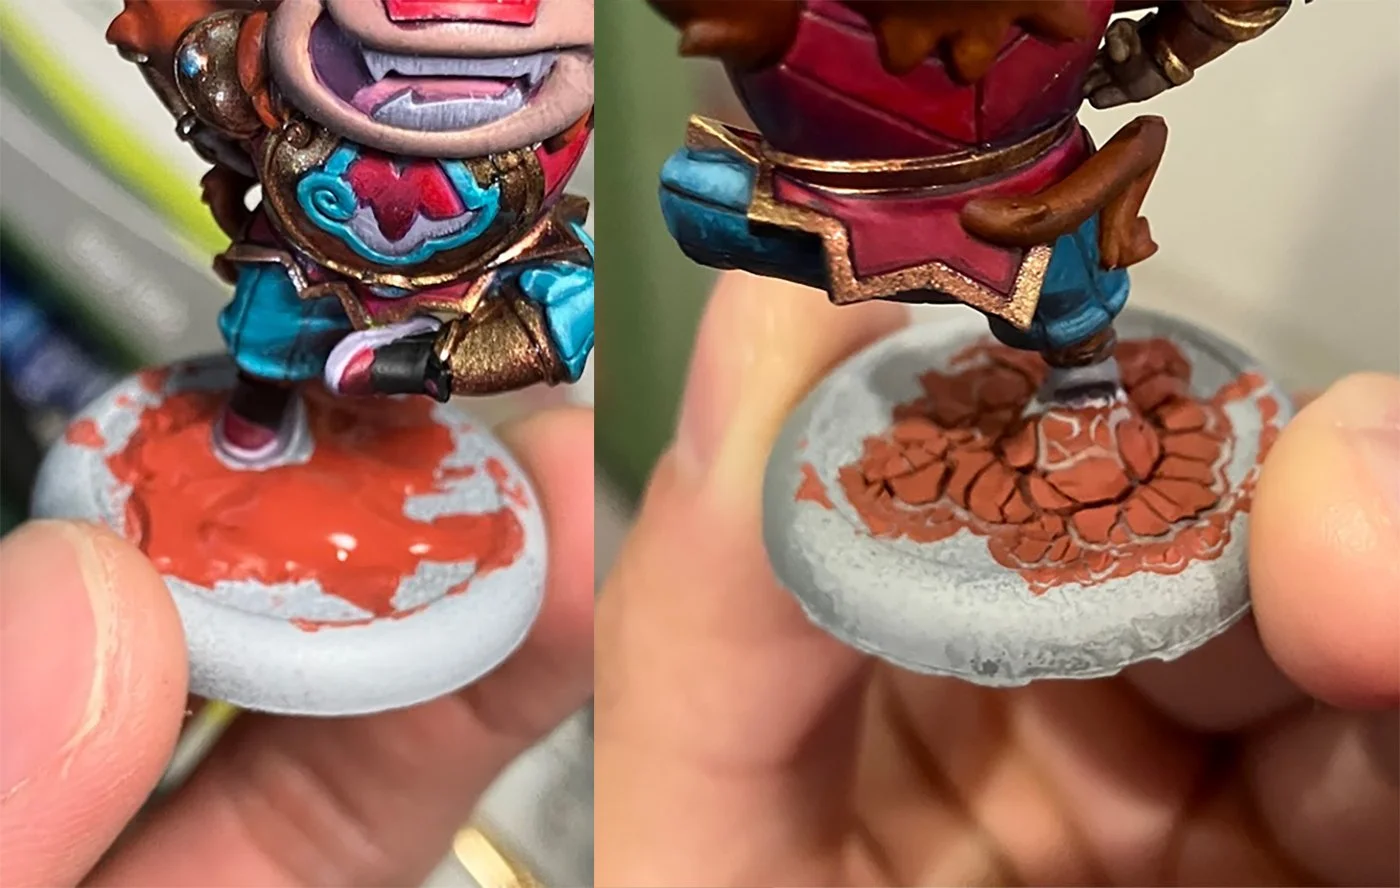
For the skin tone areas, I tried a new technique that I read in a figure modeling book recently. A red ink is applied, and before it dries, a sponge is used to dab areas away to create a mottled look. I think there’s a lot of room for improvement, but I’m still happy with how it turned out, and I think it does get closer to channeling the feel of surface irregularities, translucent skin with blood vessels underneath, etc.

Metal jump rings were used with the sword.
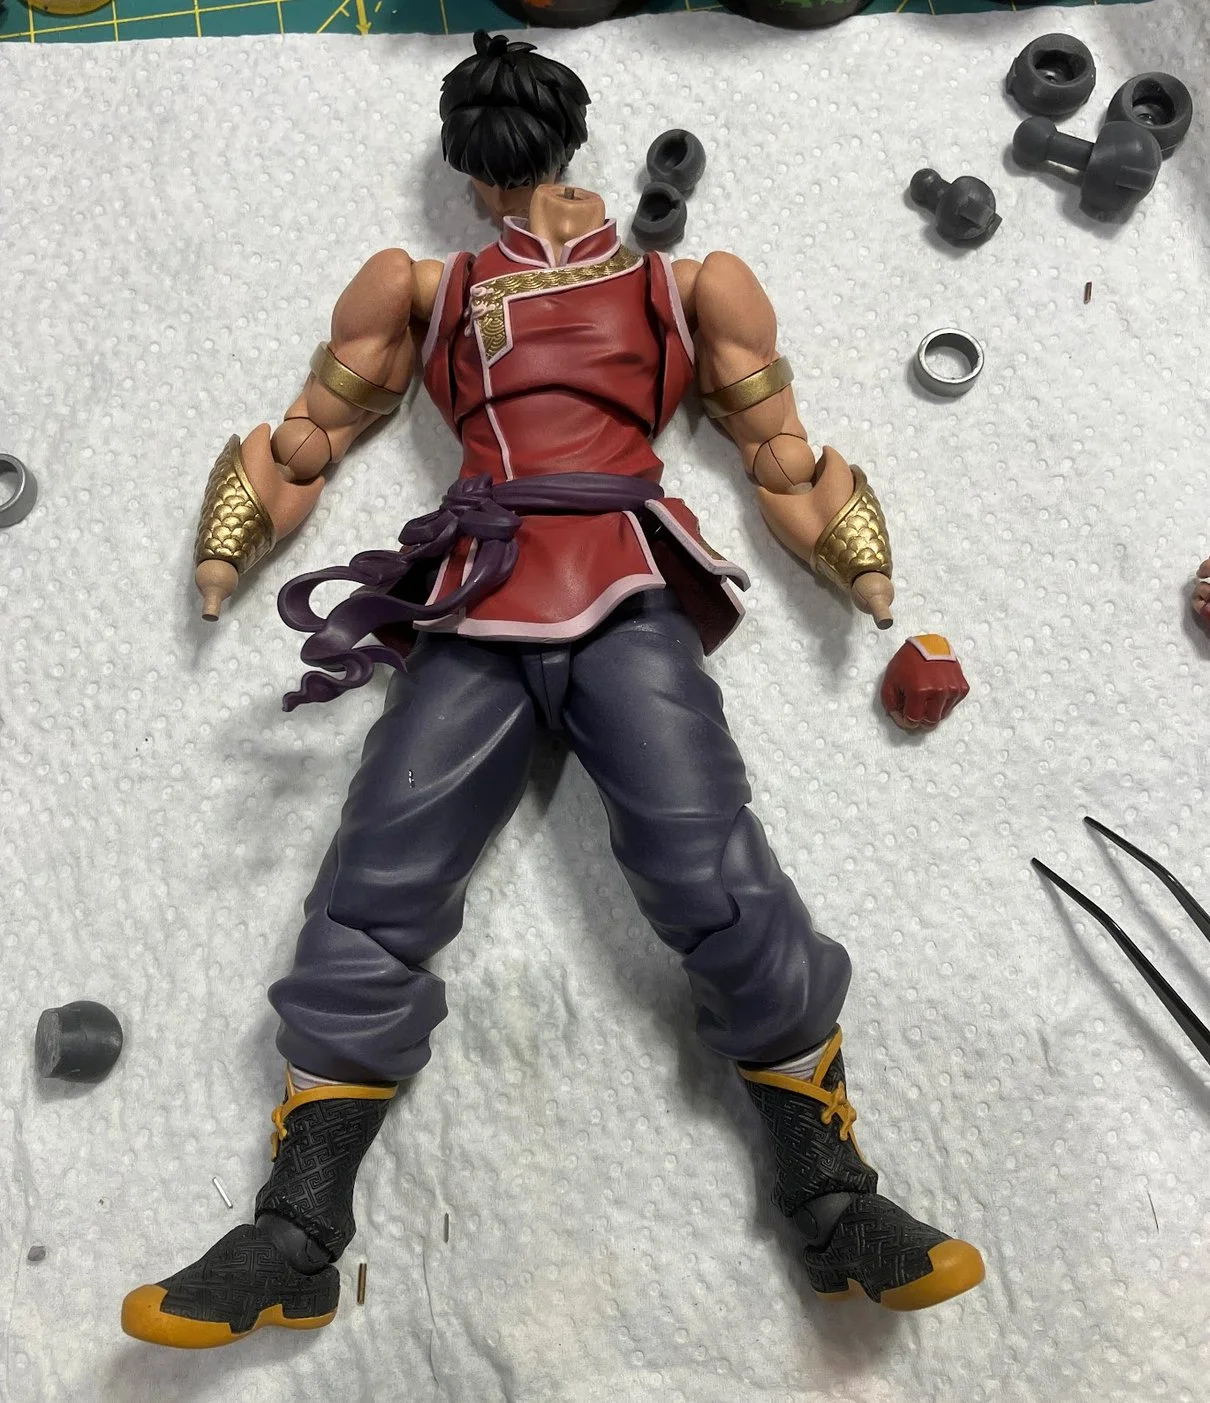
This was how the colors first turned out after airbrushing… but after seeing the pants and the shoes, I decided they needed to be changed. Fortunately, the pants don’t need masking at all, so I could just paint them as is, but for the yellow highlights on the shoes I ended up brush painting the gold instead, because I didn’t want to mask them off a second time and possibly deal with the black areas getting messed up.

It IS nice when masking works as intended though.

With that, Shang-Chi was just about finished! I’m skipping past some steps, but these areas were the ones that I was most excited to talk about.
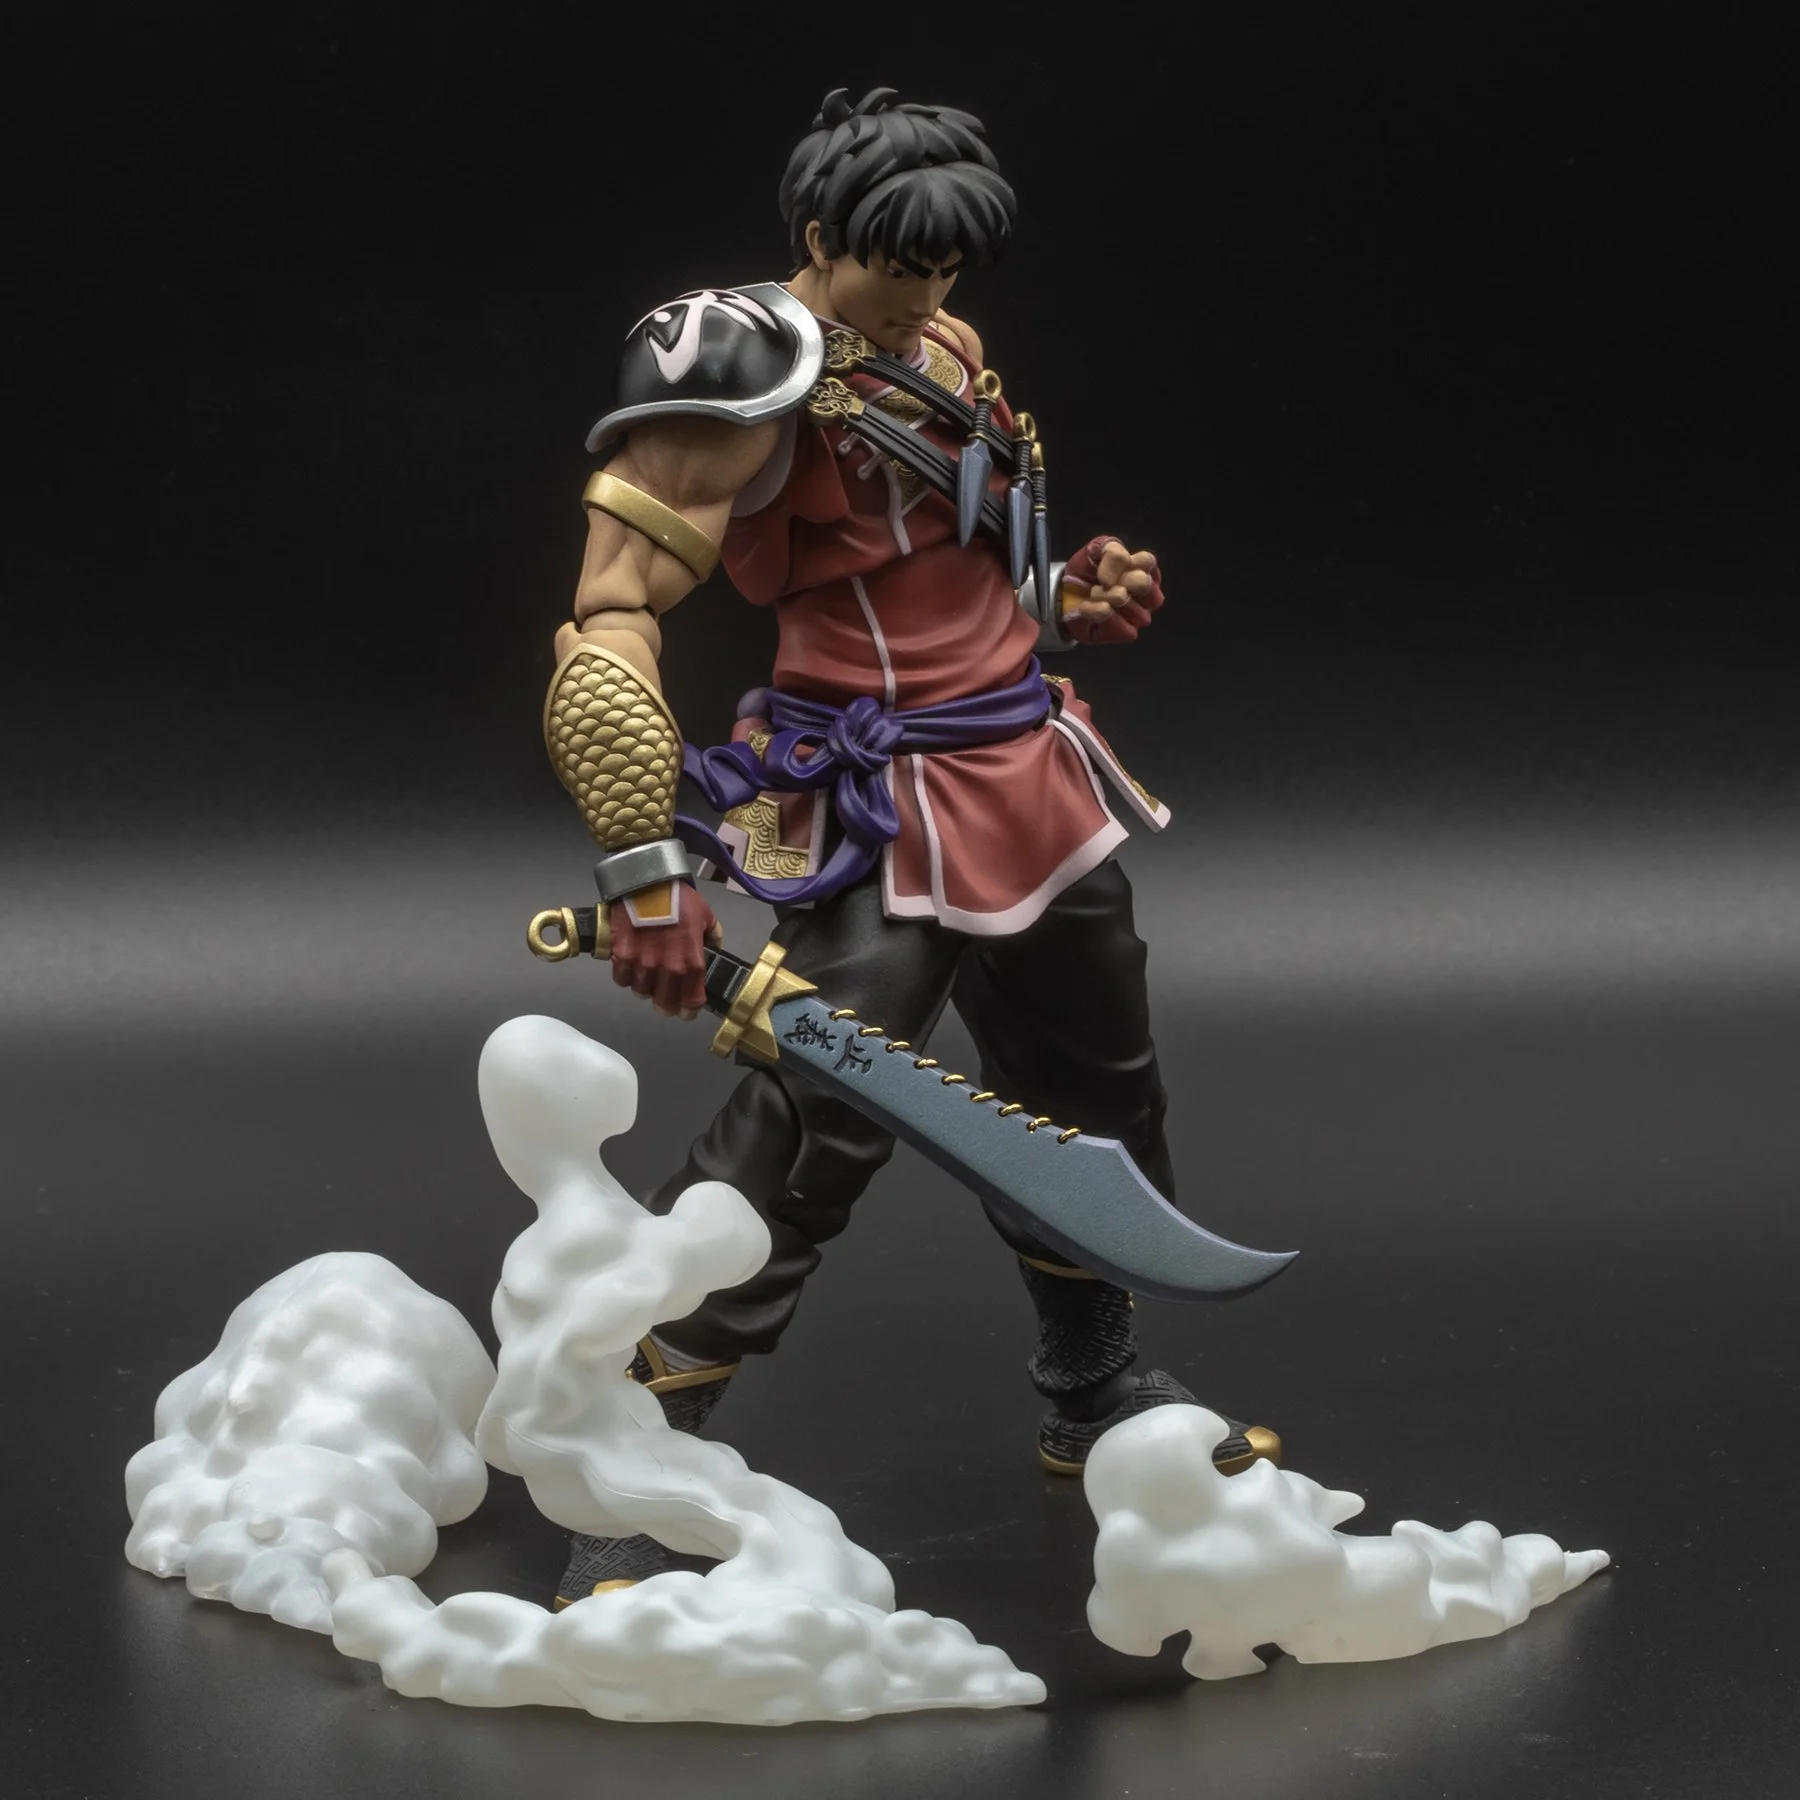


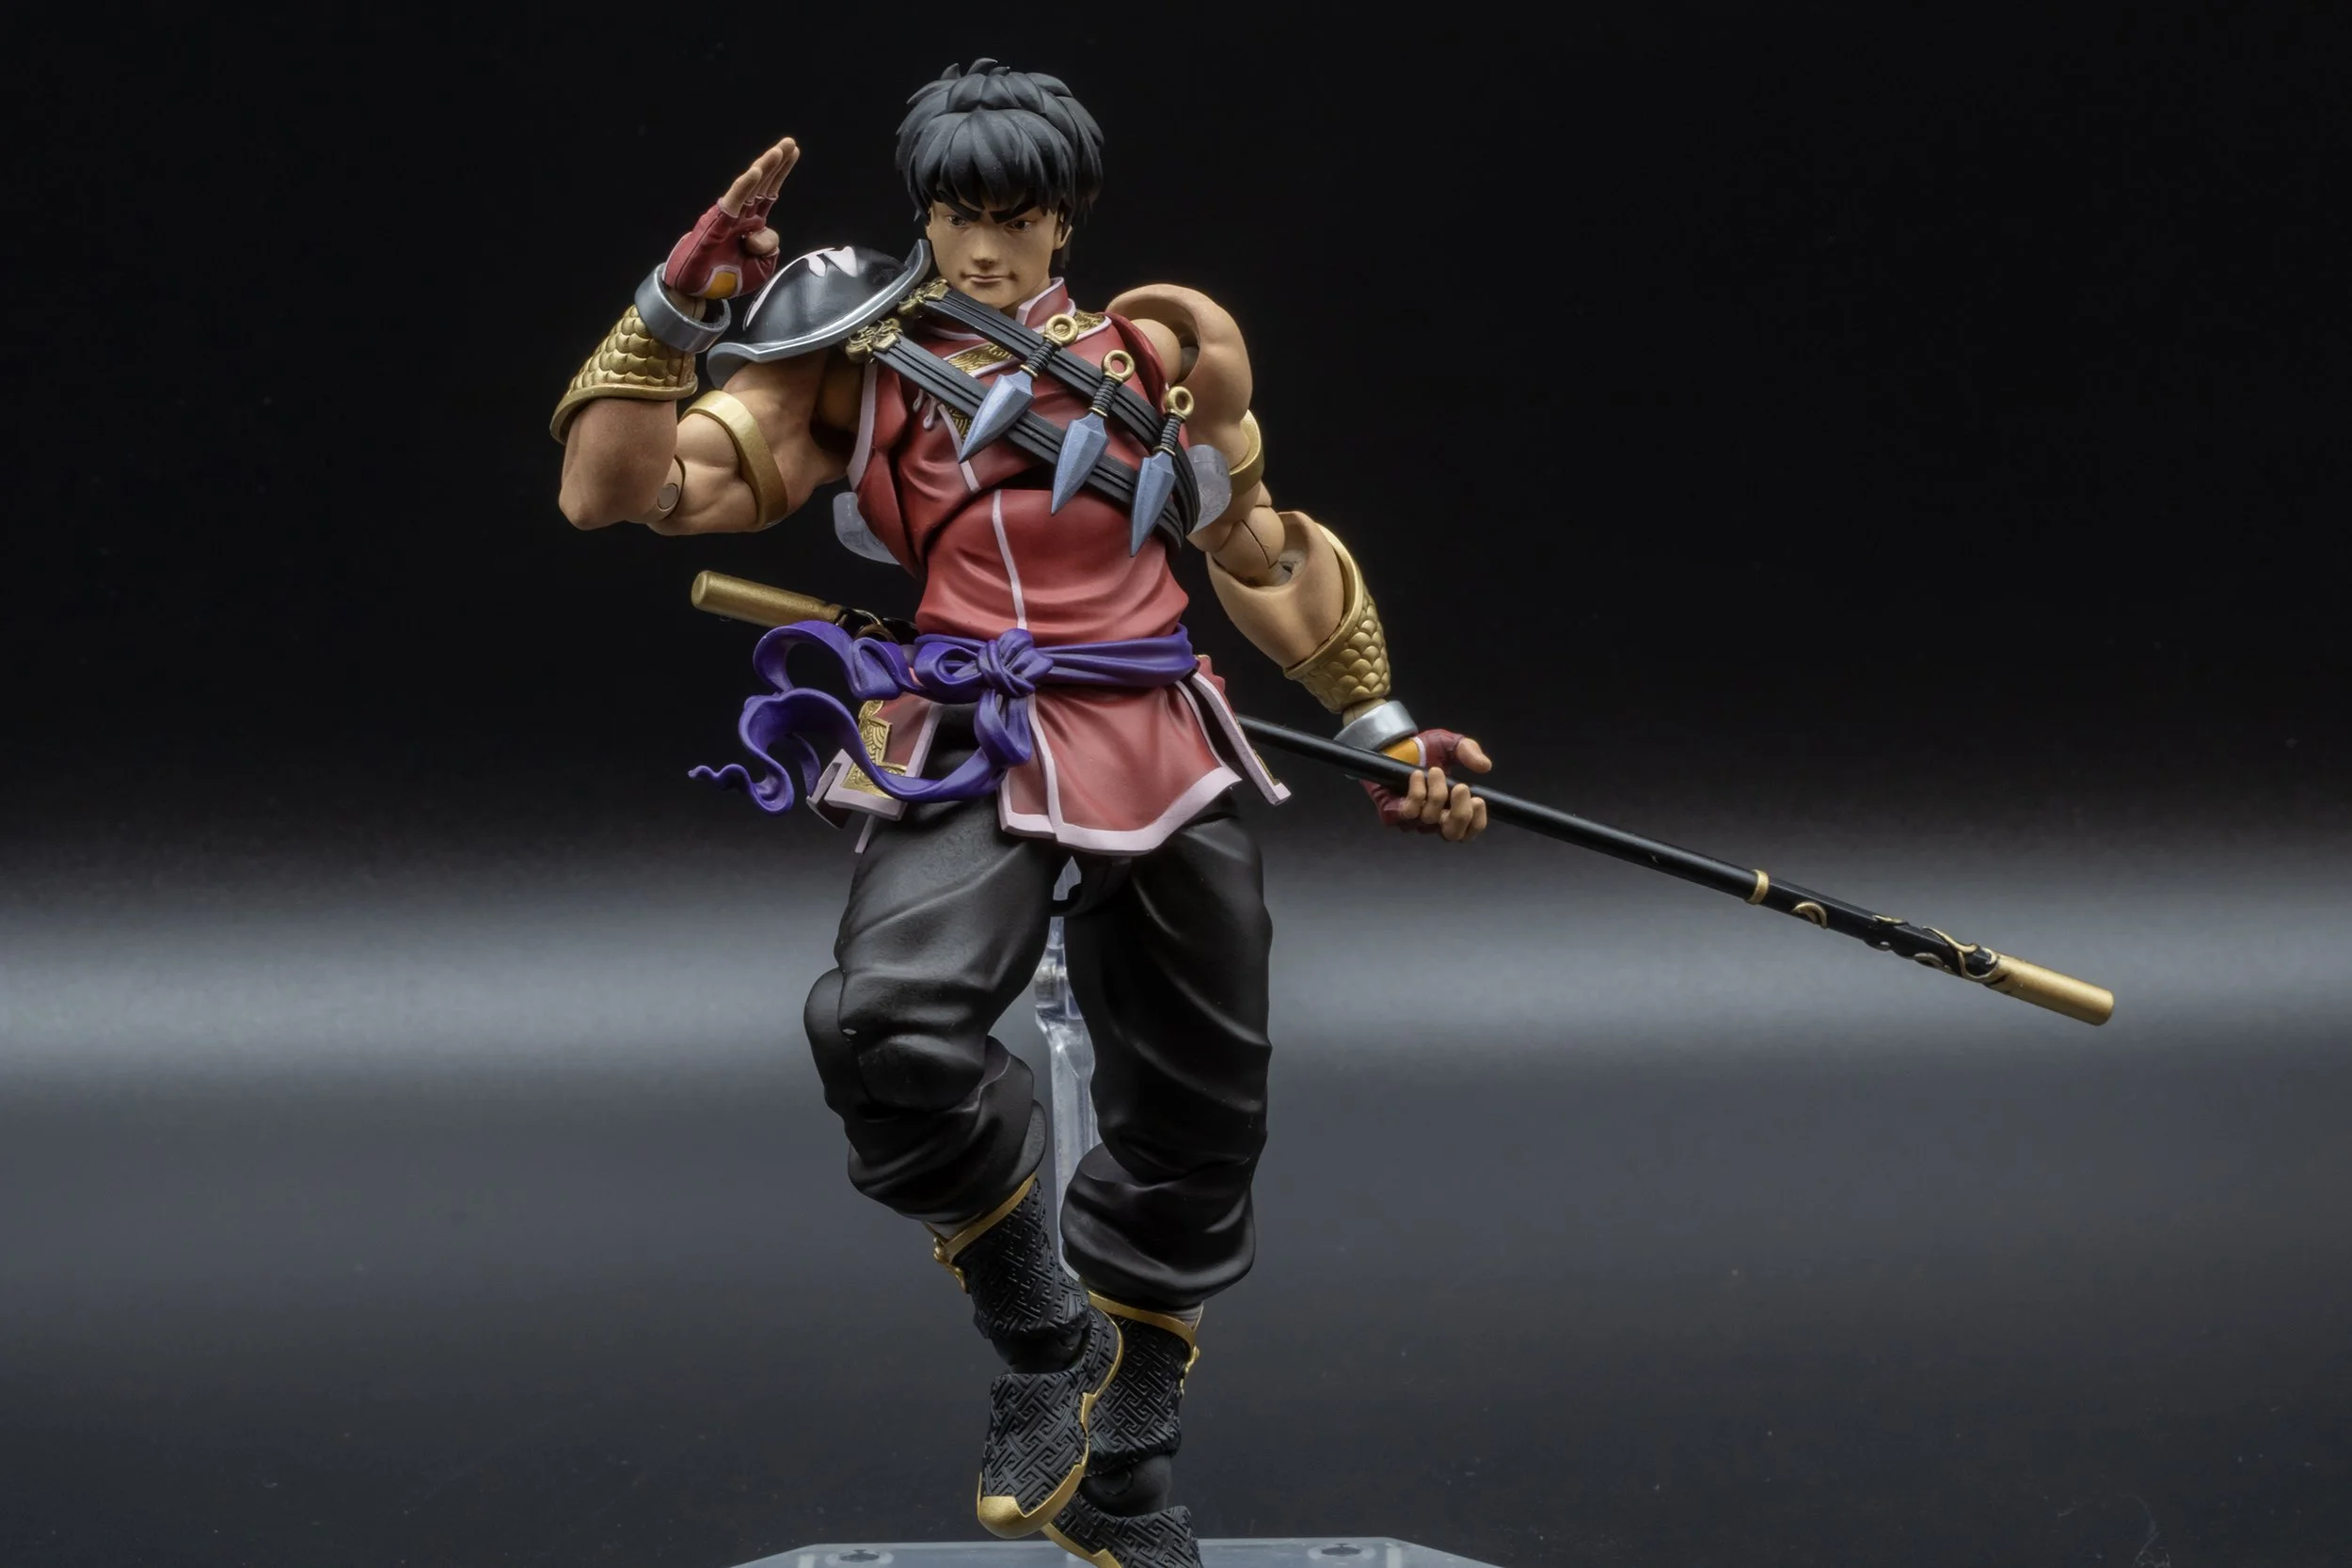
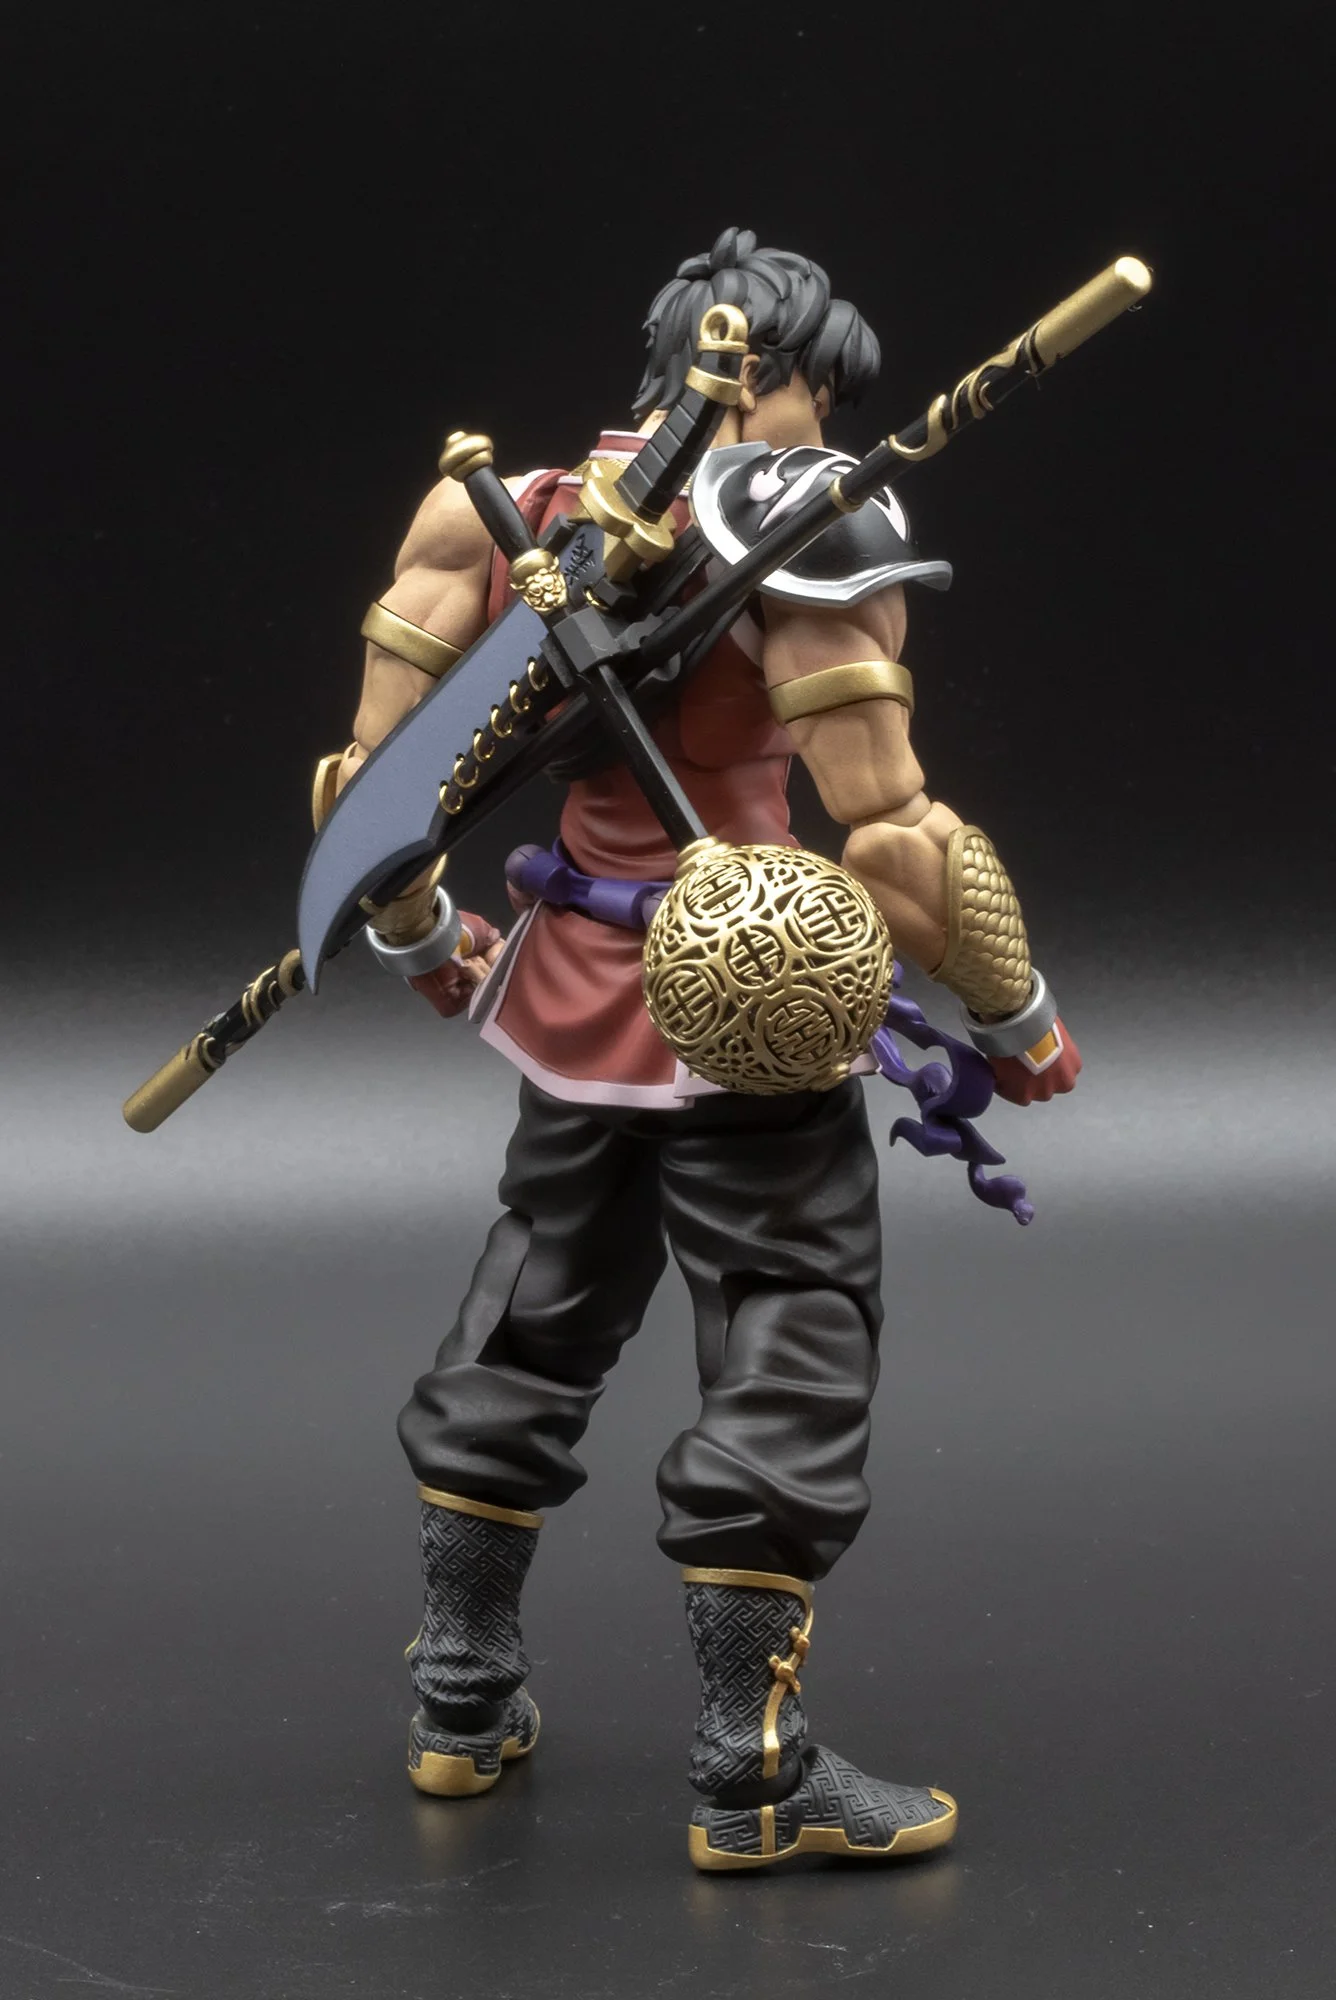

And, here are the final photos. Thanks for reading!